New: VAIL SUMMIT - A portable ham radio toolkit & CW trainer. Now in beta testing. New: VAIL ZOOMER - Send Morse code during Zoom, Teams, Discord & more.
DIY Vail Adapter on breadboard

DIY No PCB

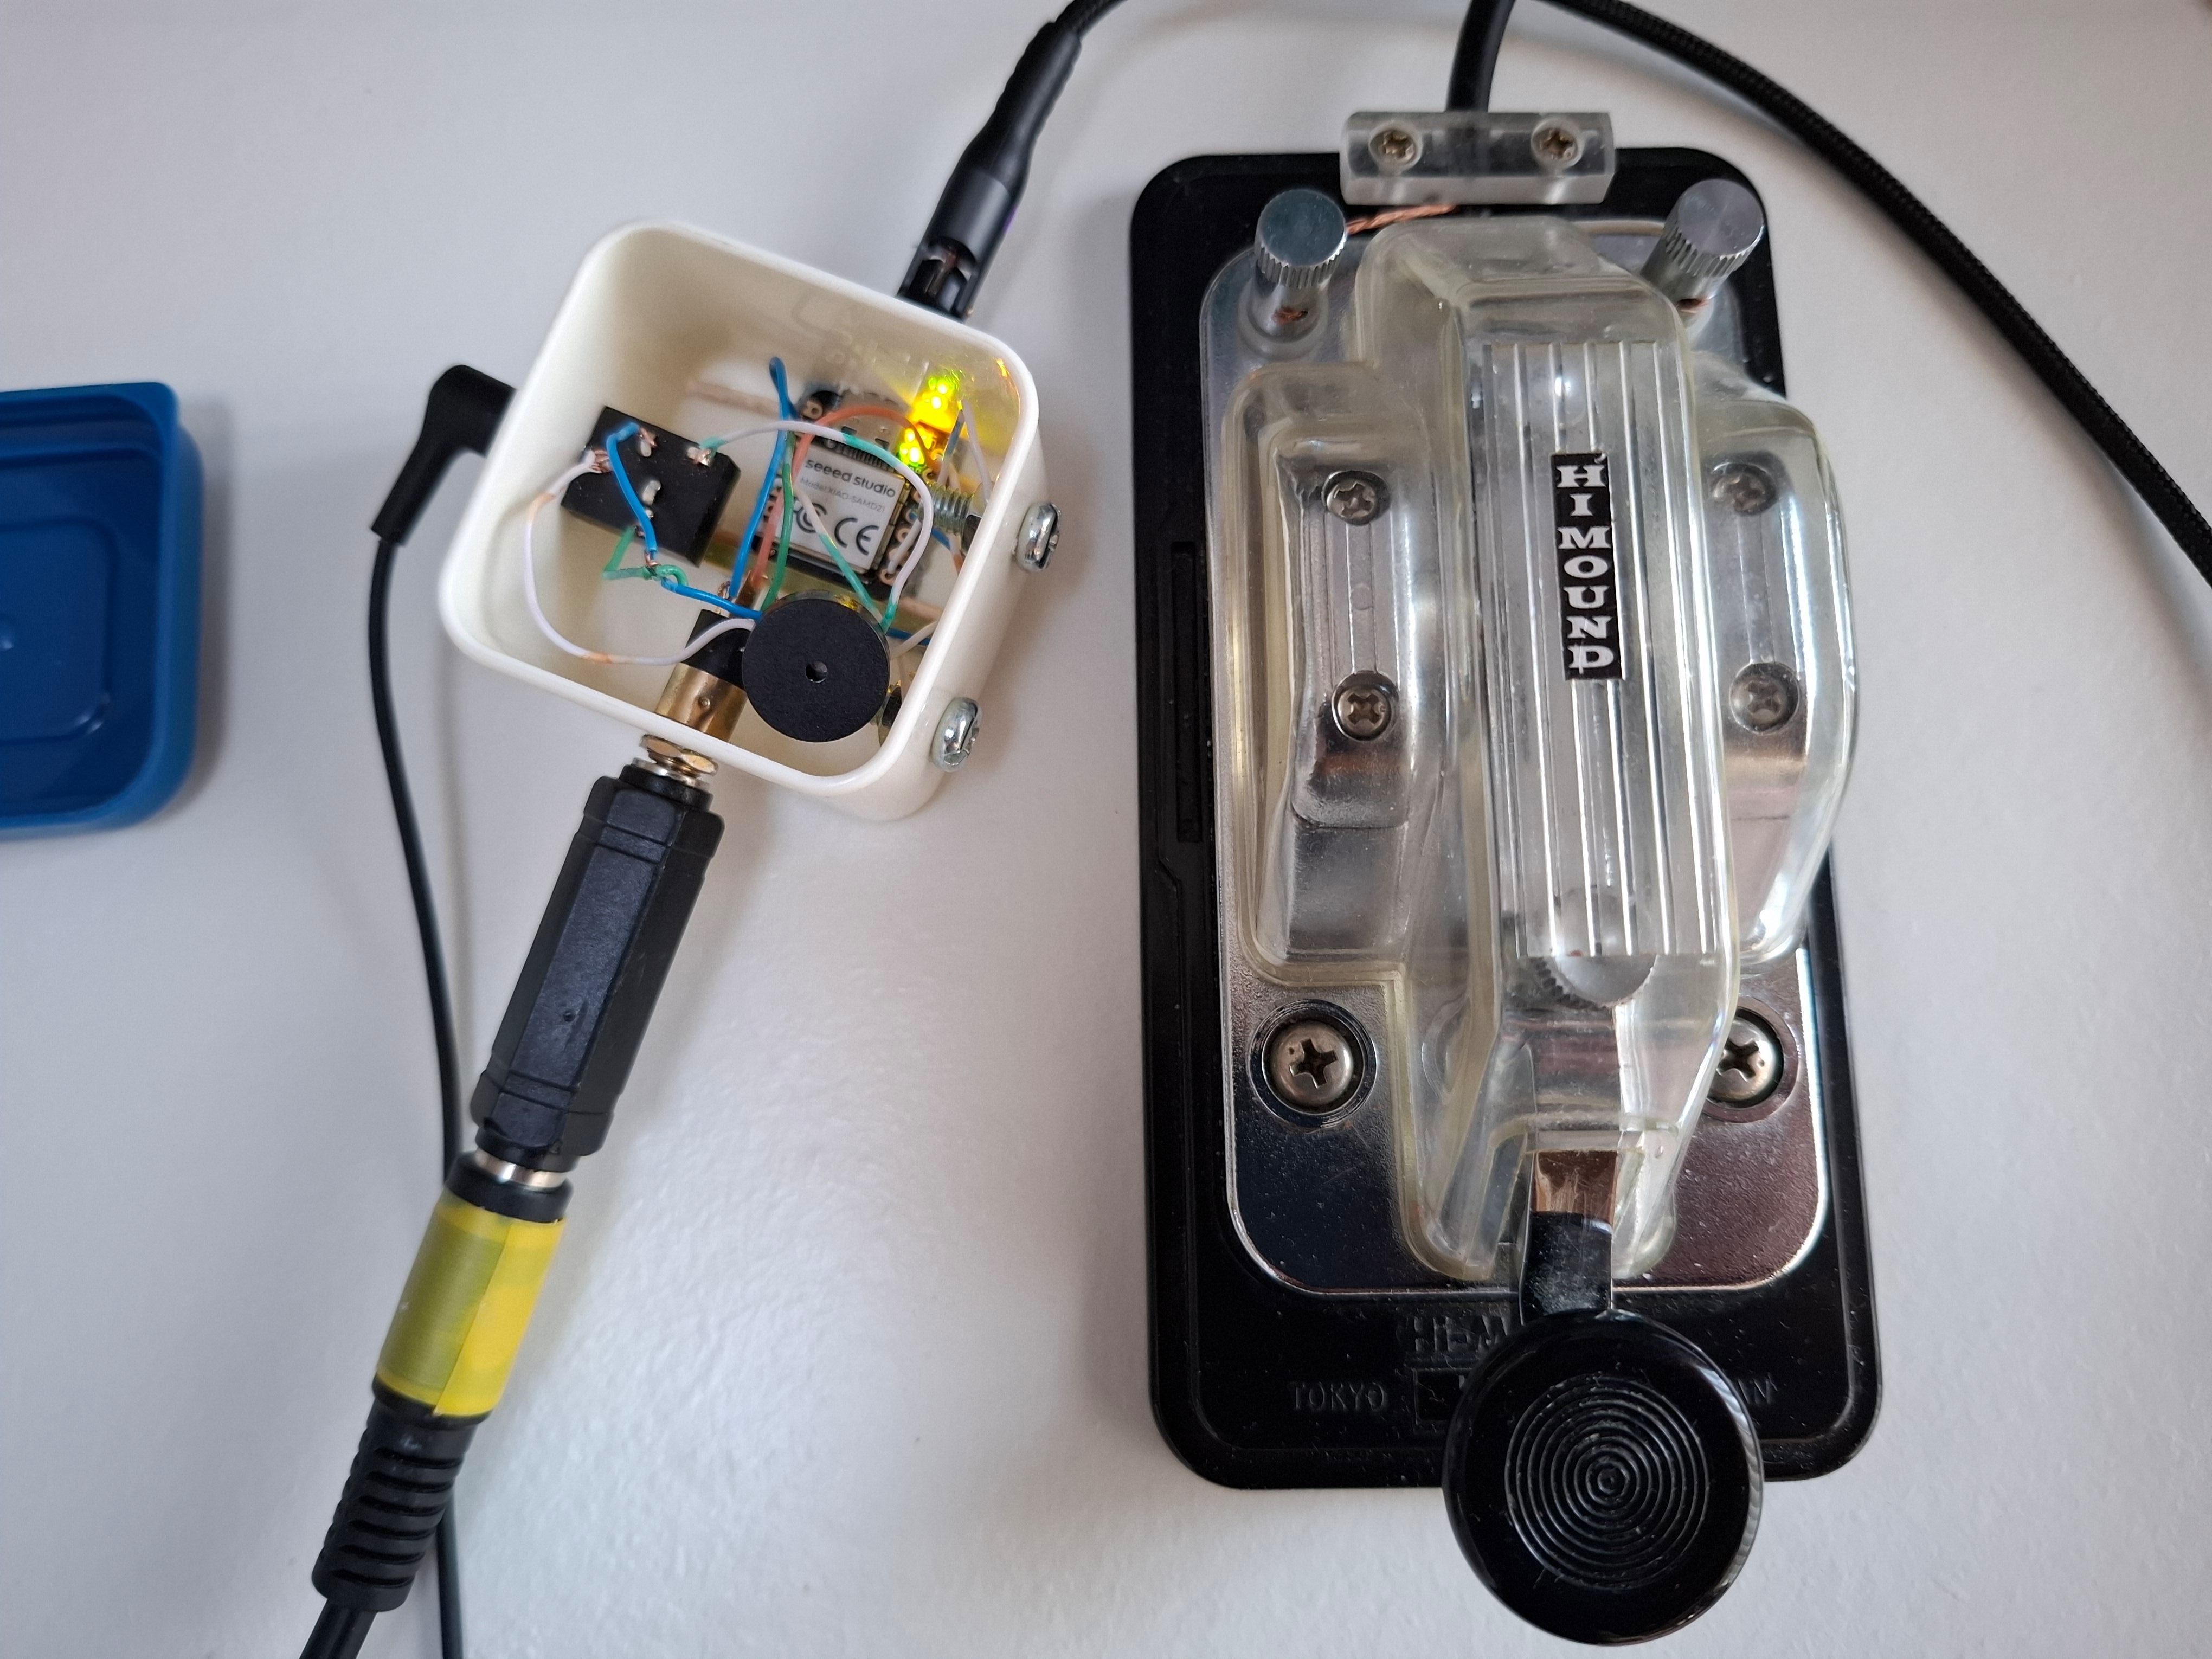
A minimal hand-wired build using off-the-shelf parts. No custom PCB needed — just an Arduino-compatible board, a buzzer, and a jack.

$15–30
Open source — source your own parts

This is the simplest way to get a Vail adapter running. Wire up a few components on a breadboard or perfboard, flash the firmware from GitHub, and you've got a working CW interface. It's a good option if you enjoy building things from scratch or want to learn how the adapter works.

You can add optional features like capacitive touch keying, audio output, or even radio keying — but those require extra components (transistors, resistors, etc.).

What You Can Build

Included in Base Build

  • Minimal parts: Arduino-compatible board + buzzer + jack
  • Breadboard or hand-wired assembly
  • USB HID keyboard & MIDI support
  • Full keyer modes (Iambic A/B, Bug, etc.)
  • Works with Vail Zoomer (video calls)

Optional Add-Ons

  • Capacitive touch keying (needs extra wiring)
  • Audio output jack
  • Radio output pins (needs transistors/resistors)
  • Button controls for settings

Good Fit If You...

  • Enjoy building electronics from scratch
  • Are learning about microcontrollers
  • Want to prototype before committing to a PCB
  • Are on a tight budget

Get Started

Everything you need — firmware, wiring diagrams, parts lists — is on the GitHub repository. It's all open source.

View on GitHub